Block Spotlight: Building a Quilt with Preset Blocks
So this is a blog post I meant to get up last month, but sometimes, uh, life does NOT find a way and just gets IN the way. Anyway, here we are. EQ hosts these cool challenges each month that they call a block spotlight, where they pick one of their thousands of pre-loaded blocks and challenge you to make a design with it! It's a great way to practice designing quilts, as well as a way to push yourself out of your comfort zone. I mean, we all have our favorite, go-to blocks, right? Well, this month's block was not one of mine, and I still managed to make a design that felt like "me"!

Most of the time, when I'm designing a quilt I start in the Block Worktable, but since I'm using presets, I'm jumping right into the Quilt Worktable! The image above is the first screen you see in the Quilt Worktable, and I think one of the most under-utilized features in EQ is their layouts. They have the common ones listed in the blue toolbar, but clicking "Open Library" on the far right will open a whole new world of layout options.
I like browsing them by style, and particularly like the "Irregular Grids" option- it's amazing what you can do with a single block that's been scrunched in different ways! I'm just going to go with the plain old on-point layout in the blue toolbar- if I'm not sure what to do, I find that turning a block on point can open up some interesting secondary designs and options!
Once you select a layout, you can decide how many blocks you want, how big you want them, and, if you want sashing, how wide you want that to be. I opted no sashing and a 5x5 grid of 9" blocks. I normally don't do much with borders design-wise, but I will set borders to 0.25" to approximate a binding!
Add the block to your sketchbook by clicking the "Open Library" button! I like to center blocks in my layout, which leaves me room to do something cool with the outside edges. I knew I wanted a little more movement than the initial "Set block" tool would give me, so after setting all my blocks, I went about rotating them with the "Rotate" option in the block menu. I liked this layout, so then I went to the "Fabric Tools" section to play with color!
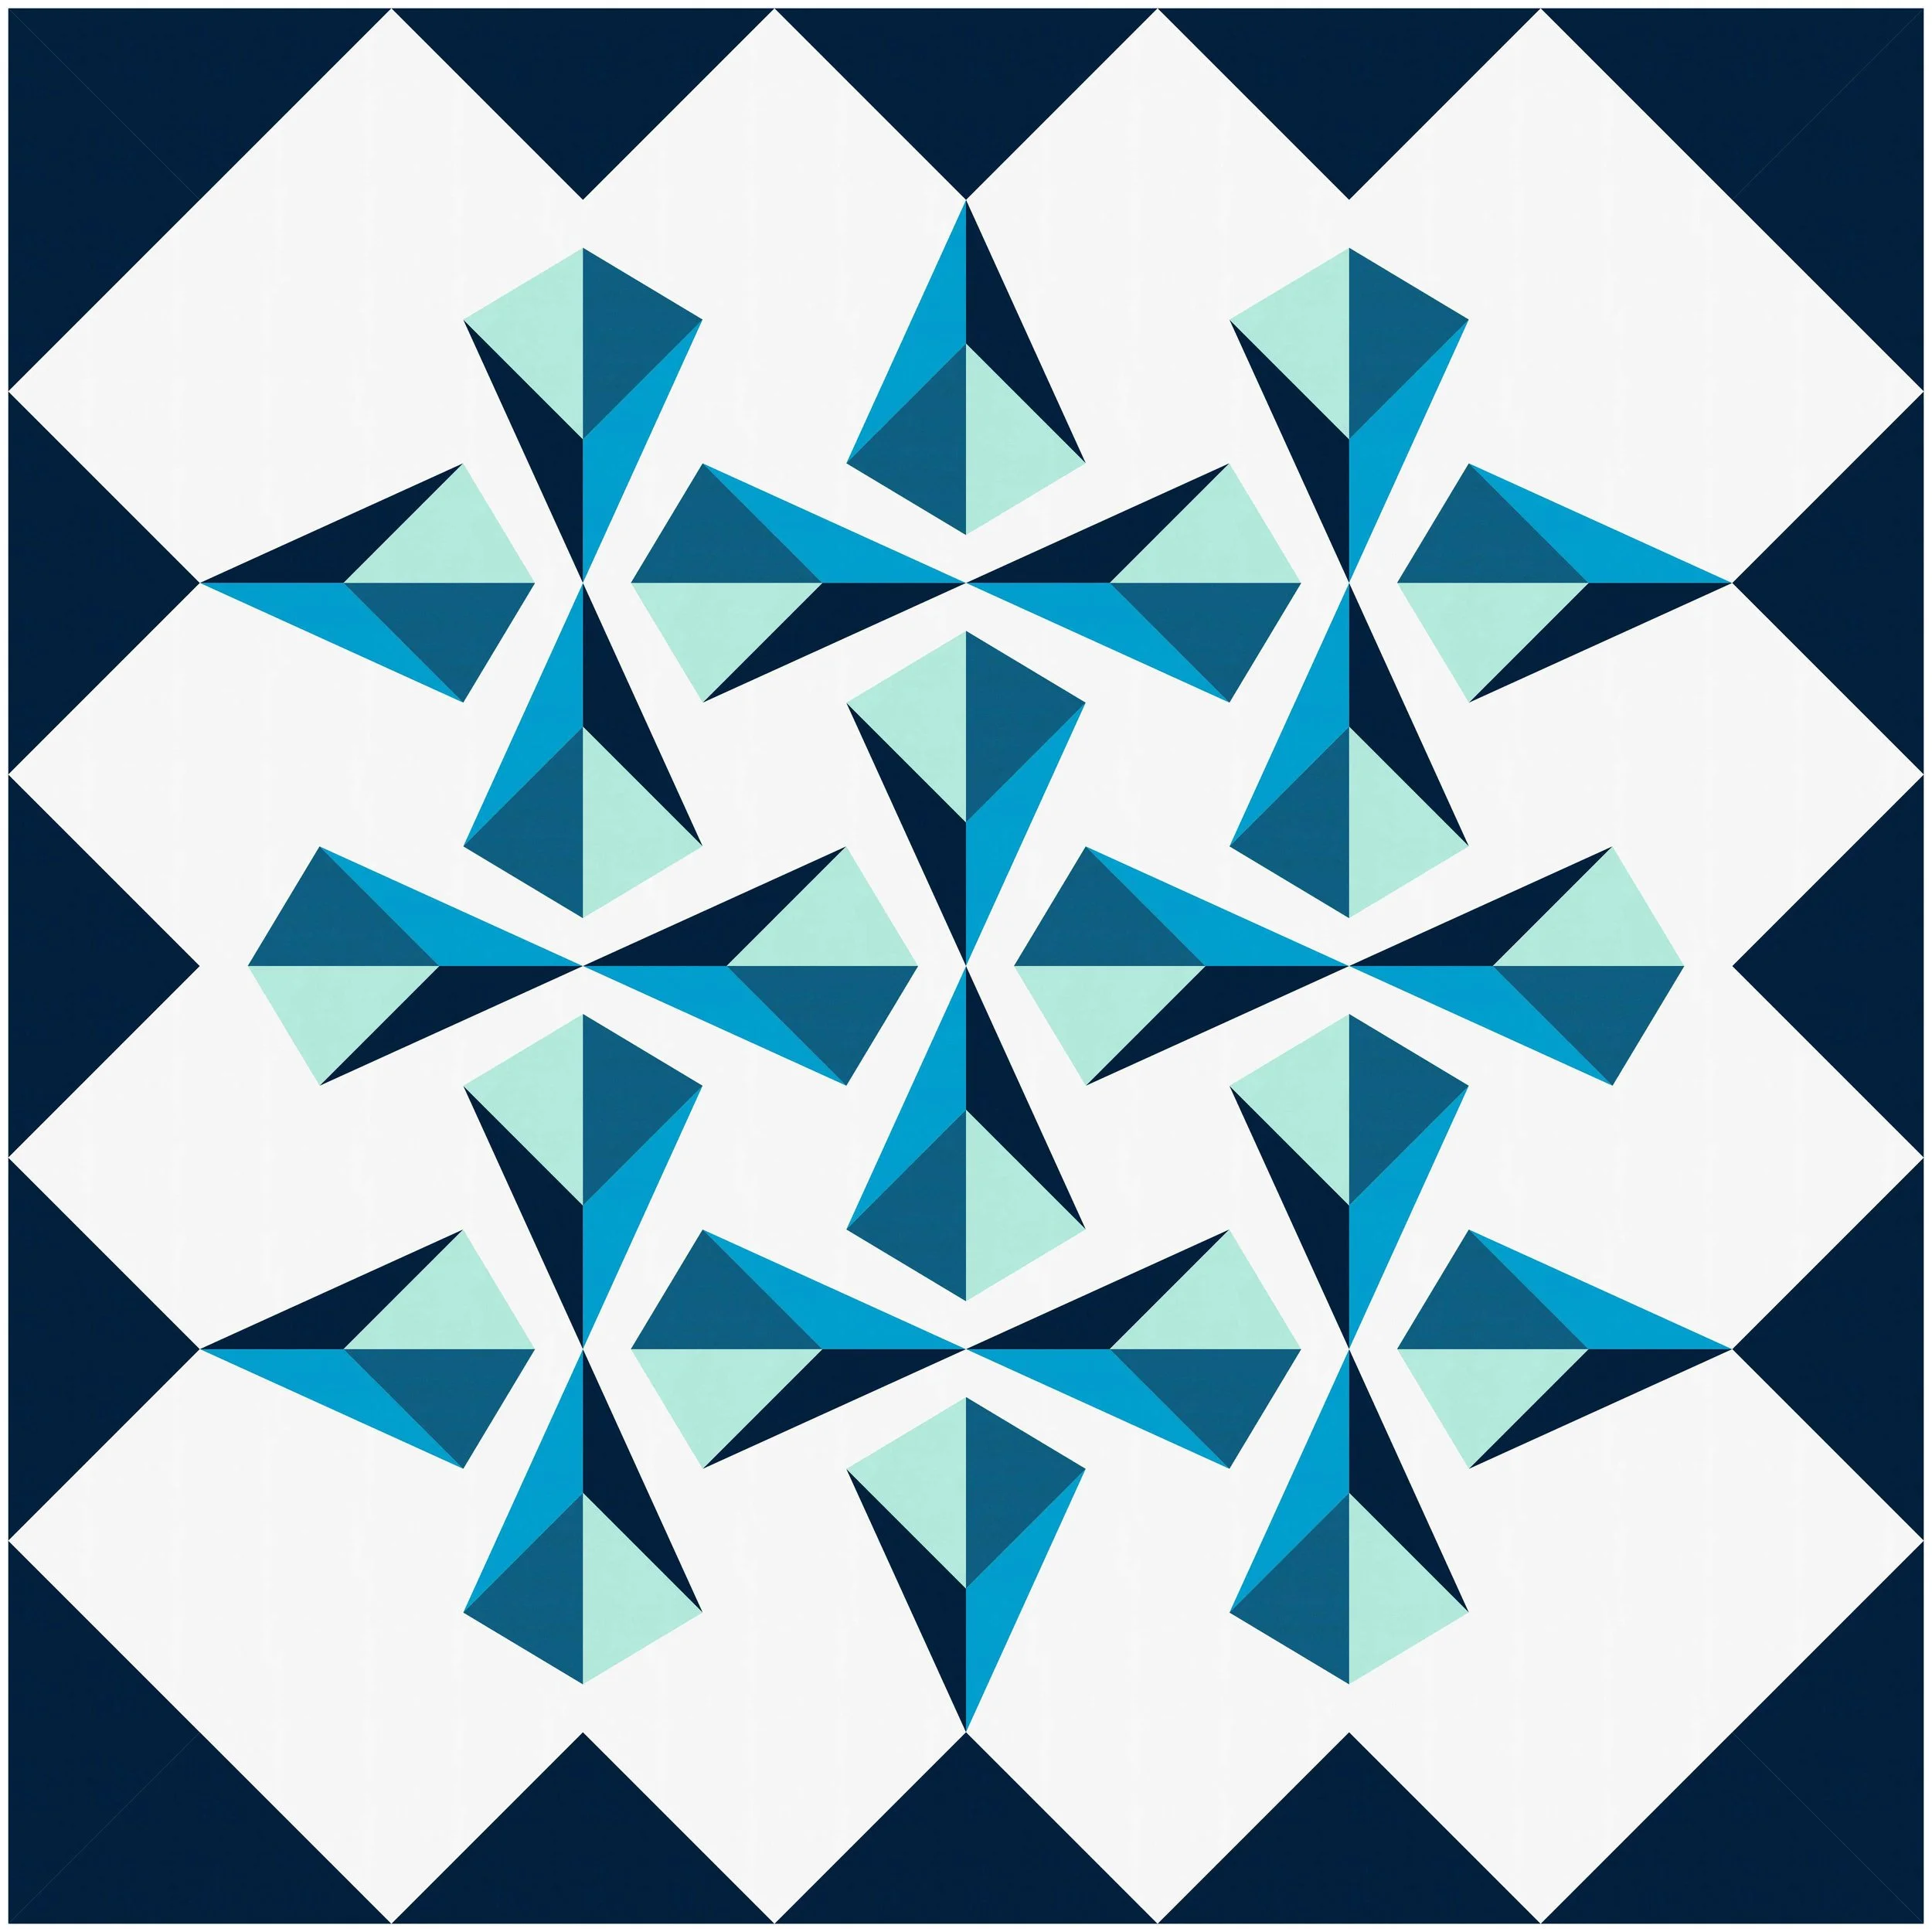
This is what I have after coloring! Its amazing how switching things around can totally switch the design. This one used Kona fabrics in Ice Frappe, Navy, Caribbean, Teal, and White. One cool thing to make sure you do too is to click the icon in the left-hand toolbar that is right above the question mark (three up from the bottom). This lets you toggle on and off the patch lines, which you can see below:
It gets rid of those extra pesky lines, and, in my opinion, makes it much easier to visualize what your top will actually look like. When you're playing with the colors/fabrics, don't be afraid to emphasize the less obvious parts of a block too. I added some prints and focused on some of the spaces between blocks with the version below, and I love how it feels so much more vintage and fall-y and feels totally different than the super mod first version without changing any layouts or blocks!!
The prints in the version above are Maureen Cracknell's Autumn Vibes, which I got by buying and downloading a stash add-on from EQ's website. If you're interested in adding to your EQ fabric stash, or don't have EQ but want to buy it with a little bit of a discount, you can use my promo code below for 20% off!
Q8 did provide support for this post, but the opinions are all mine!